If you’re unsure about crocheting into front or back loops only, or around the post of a stitch, this post is for you. I’ll explain the parts of a crochet stitch and demonstrate different ways to insert your hook. Although single crochet (double crochet in UK/Australia) is typically used in amigurumi, the techniques I cover apply to all crochet stitches. Read on to improve your crochet skills!
Parts of a crochet stitch
The anatomy of a crochet stitch involves a post, also referred to as the stitch or vertical bar, with two loops situated above it.

In both loops
When crocheting amigurumi, it is customary to work in both loops of the stitch, unless the pattern specifies otherwise. To achieve this, the hook is inserted underneath both loops on top of the stitch. By following this method, an evenly textured fabric is created that does not stretch excessively, making it ideal for amigurumi.
Here are the steps to crochet in both loops:
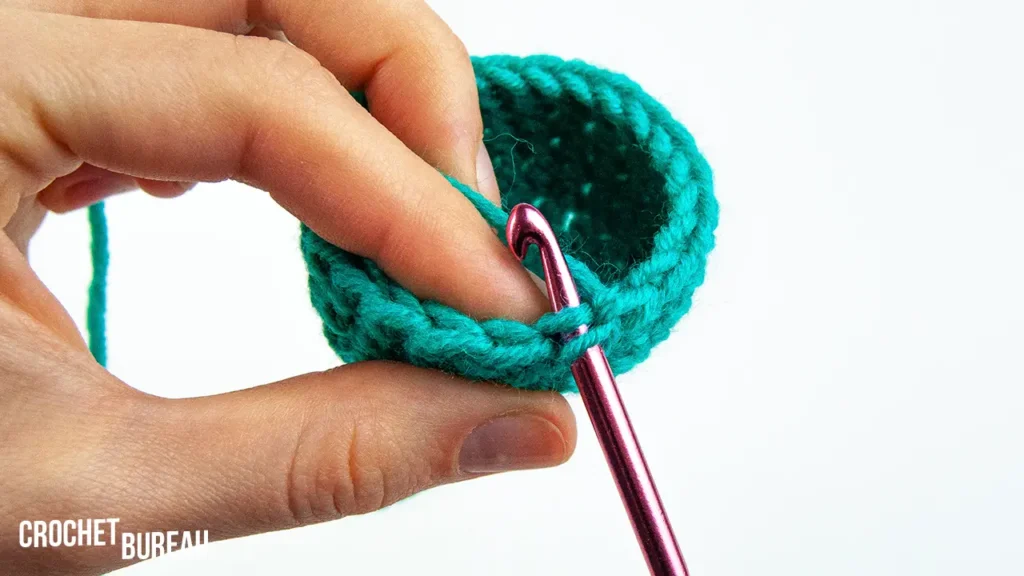
1. Insert the hook under both loops situated on top of the stitch.

2. Crochet as usual to create a neat and uniform texture, which is suitable for amigurumi.

Front or back loops only
Crocheting through front or back loops only is a technique that can be used to achieve different effects in a crochet project. By working through only one loop of a stitch, either the front loop or the back loop, you can create a unique texture or manipulate the shape of your work.
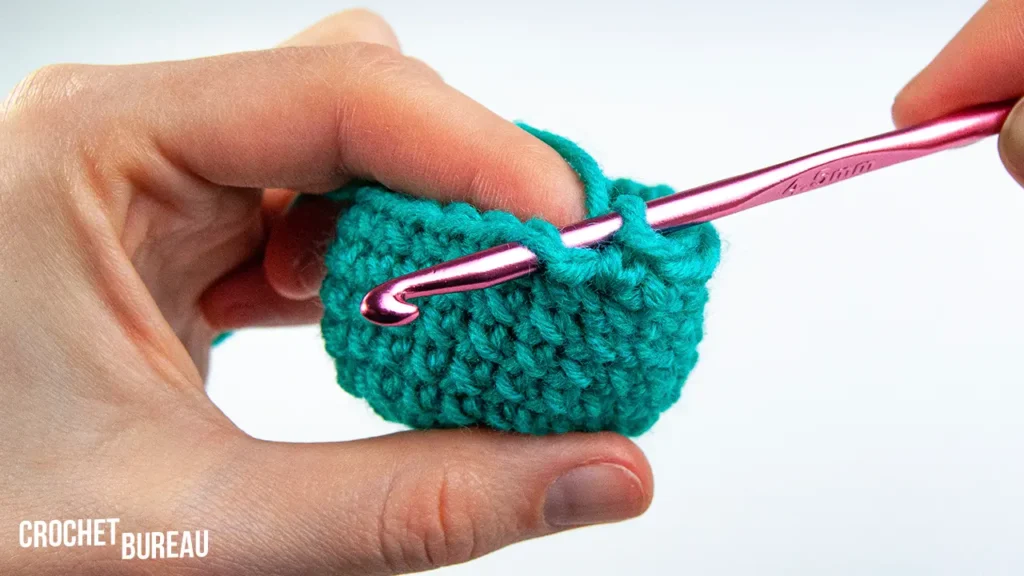
a) Crocheting in front loops only involves inserting the hook under the loop situated towards the front of your work. This method creates a lighter and more open texture, which can be used to add decorative details or create a lacy effect. When using this technique, a row of loops is left on the wrong side of the work.


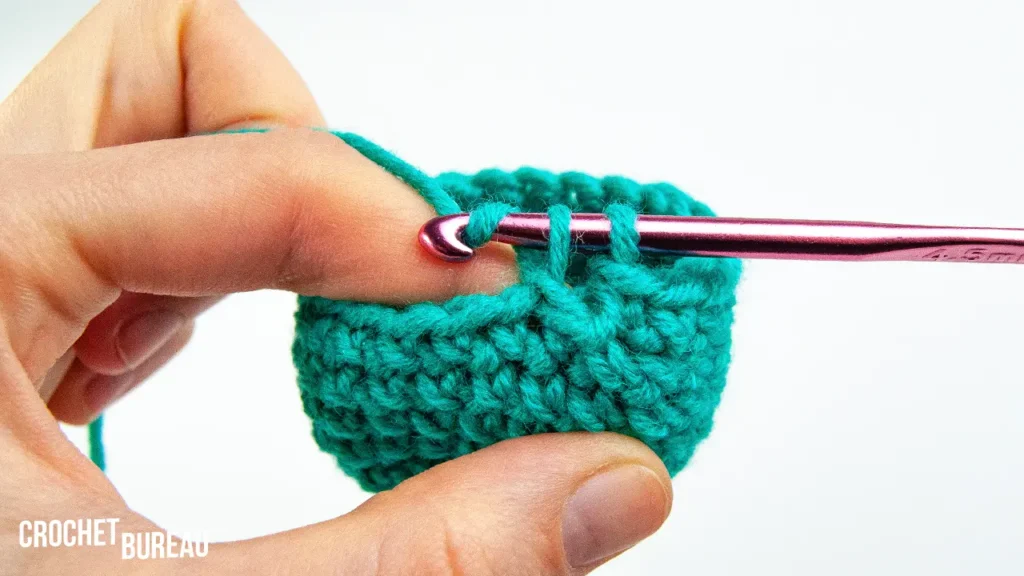
b) Crocheting in back loops only requires inserting the hook under the loop situated towards the back of your work. This method produces a ribbed texture that can be used to create fitted garments or add structure to a project. Crocheting in back loops only also leaves a row of loops on the right side of the work.

It’s important to note that working in either front or back loops only will affect the shape and tension of your project, so it’s crucial to follow the pattern instructions carefully to achieve the desired result.
Crocheting around the post of a stitch
Crocheting around the post of a stitch can be used to create texture and shape in your crochet projects. This technique is achieved by working the stitch around the post of the stitch rather than through the top loops. The two variations are known as front post and back post crochet stitches, depending on whether you insert the hook under or over the post of the stitch.
a) Instructions for front post crochet stitch:
- Begin by inserting your crochet hook from the front of the post towards the back, on the right side.

2. Next, move the hook downwards and then upwards, passing it under the post, and bringing it up on the left side.

3. Finally, proceed to finish the stitch in your usual manner.

b) Crocheting the Back Post Stitch
- Begin by inserting your crochet hook from the back to the front on the right side of the post.
2. Wrap the hook around the post, pulling it back to the rear side of your crochet piece.

3. Proceed with completing the stitch following your usual method


