Starting a round crochet project using a magic ring, also known as a magic circle, allows you to create an adjustable loop for the first round, which can be pulled tight to prevent any holes in the middle. This is especially helpful for crocheting toys or amigurumi. Alternatively, you can begin with a chain of two and crochet the first round into the second chain from the hook.
When it comes to creating Amigurumi pieces, the starting point usually consists of six single crochet stitches. For the purpose of this tutorial, we will be using this as our example.
Step 1. To begin, make a loop by placing the working yarn over the yarn end.
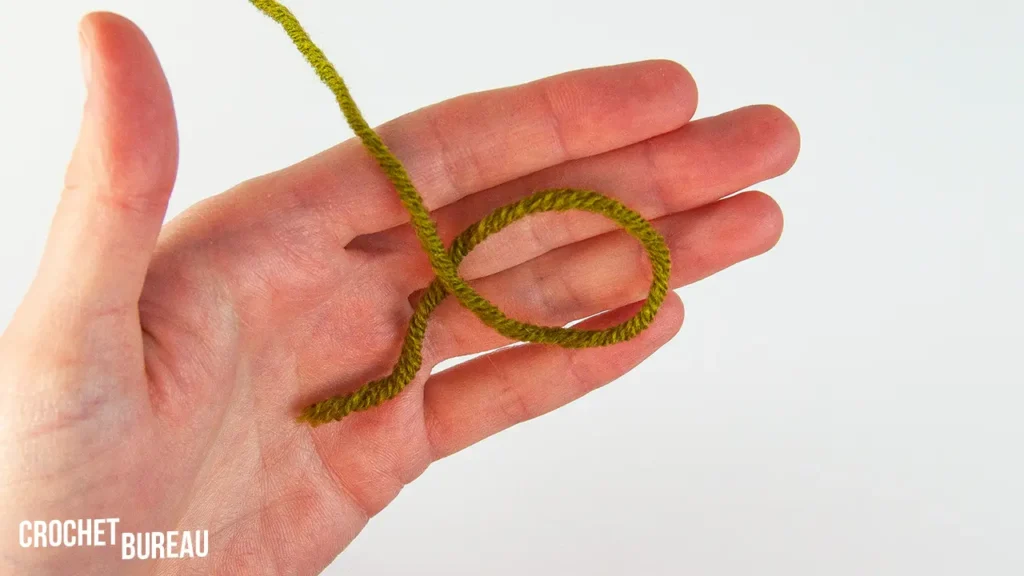
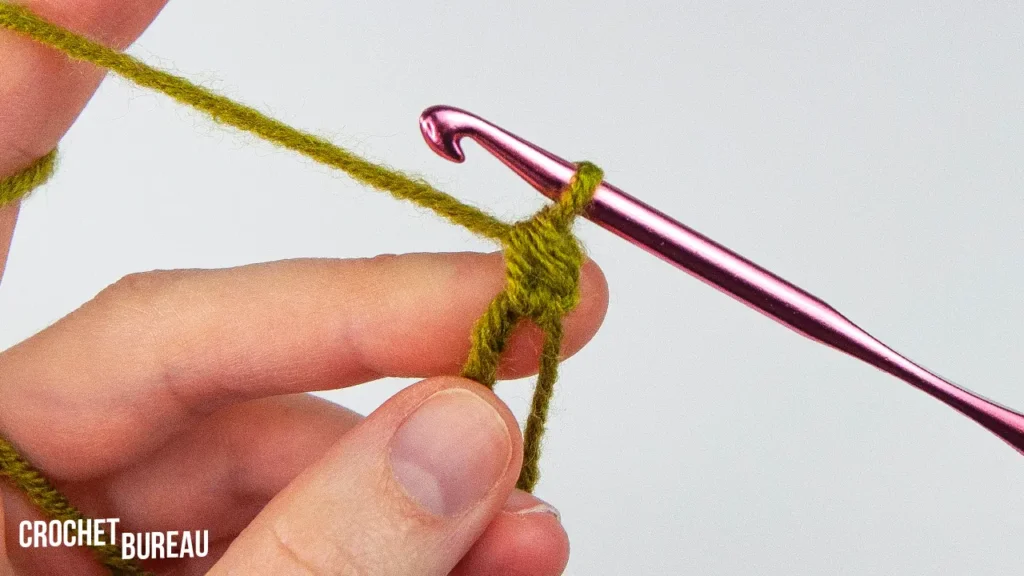
Step 2: Using your other hand, hold the loop you made in step 1 between your thumb and forefinger. Insert the crochet hook through the center of the loop, then yarn over and draw up a loop.

Step 3: After drawing up a loop in Step 2, yarn over and pull the yarn through the loop on the hook.

Step 4. Tighten the loop by pulling on the tail end of the yarn. Note that this is not considered the first single crochet stitch.

Step 5. Commence your first single crochet stitch by inserting the hook through the loop, yarning over, and pulling up a loop.

Step 6 involves completing the first single crochet stitch by yarning over and drawing through both loops on the hook.

Step 7. Completing your first single crochet stitch.
Step 8. Keep working single crochet stitches through the loop and over the yarn end until you have the desired number of stitches, which in this case is usually six.

Step 9: Grasp the yarn tail and pull it tight to close the center of the piece.

Step 10. Congratulations, you’re done! Now you can continue with the second round.


 for beginners with our step-by-step guide. Perfect for amigurumi and circular projects.)